


How to Plan a Custom Aluminum Pergola for Your Space
When designing an aluminum pergola, first define the use, coverage, flow, and limitations of your site, then choose the finish. These parameters determine the pergola’s size and how it will be built, including how many posts you need, where they will go, and how the pergola will be attached and roofed.
Additional concerns to consider when building a pergola in Canada include structural loading, permits, foundation, drainage, and electrical if your plan includes any powered components. LOUSOL designs and builds custom louvered pergola systems for residential and commercial projects of all sizes, from small patios to large multiple zone installations.
The following custom aluminum pergola planning guide explains the process of calculating measurements, size, number of posts, louvers, accessories, engineering considerations, permits, installation, and final verification prior to manufacturing. This guide is for homeowners and project designers who want to turn an outdoor structure idea into a design plan that can be analyzed against specific site conditions. The goal is not maximizing dimensions, but integrating all design decisions first.
Quick Answer: Design a unique aluminum pergola in the following steps: determine the function of the space, measure the area, determine the footprint size, determine post/attachment points, select the roof/controls, plan for any accessories, find out about the foundation/wind/snow specifications, find out about the permits/electrical needs, and then sign off on the plans/quote. Don’t finalize dimensions until you’ve addressed all of the above.
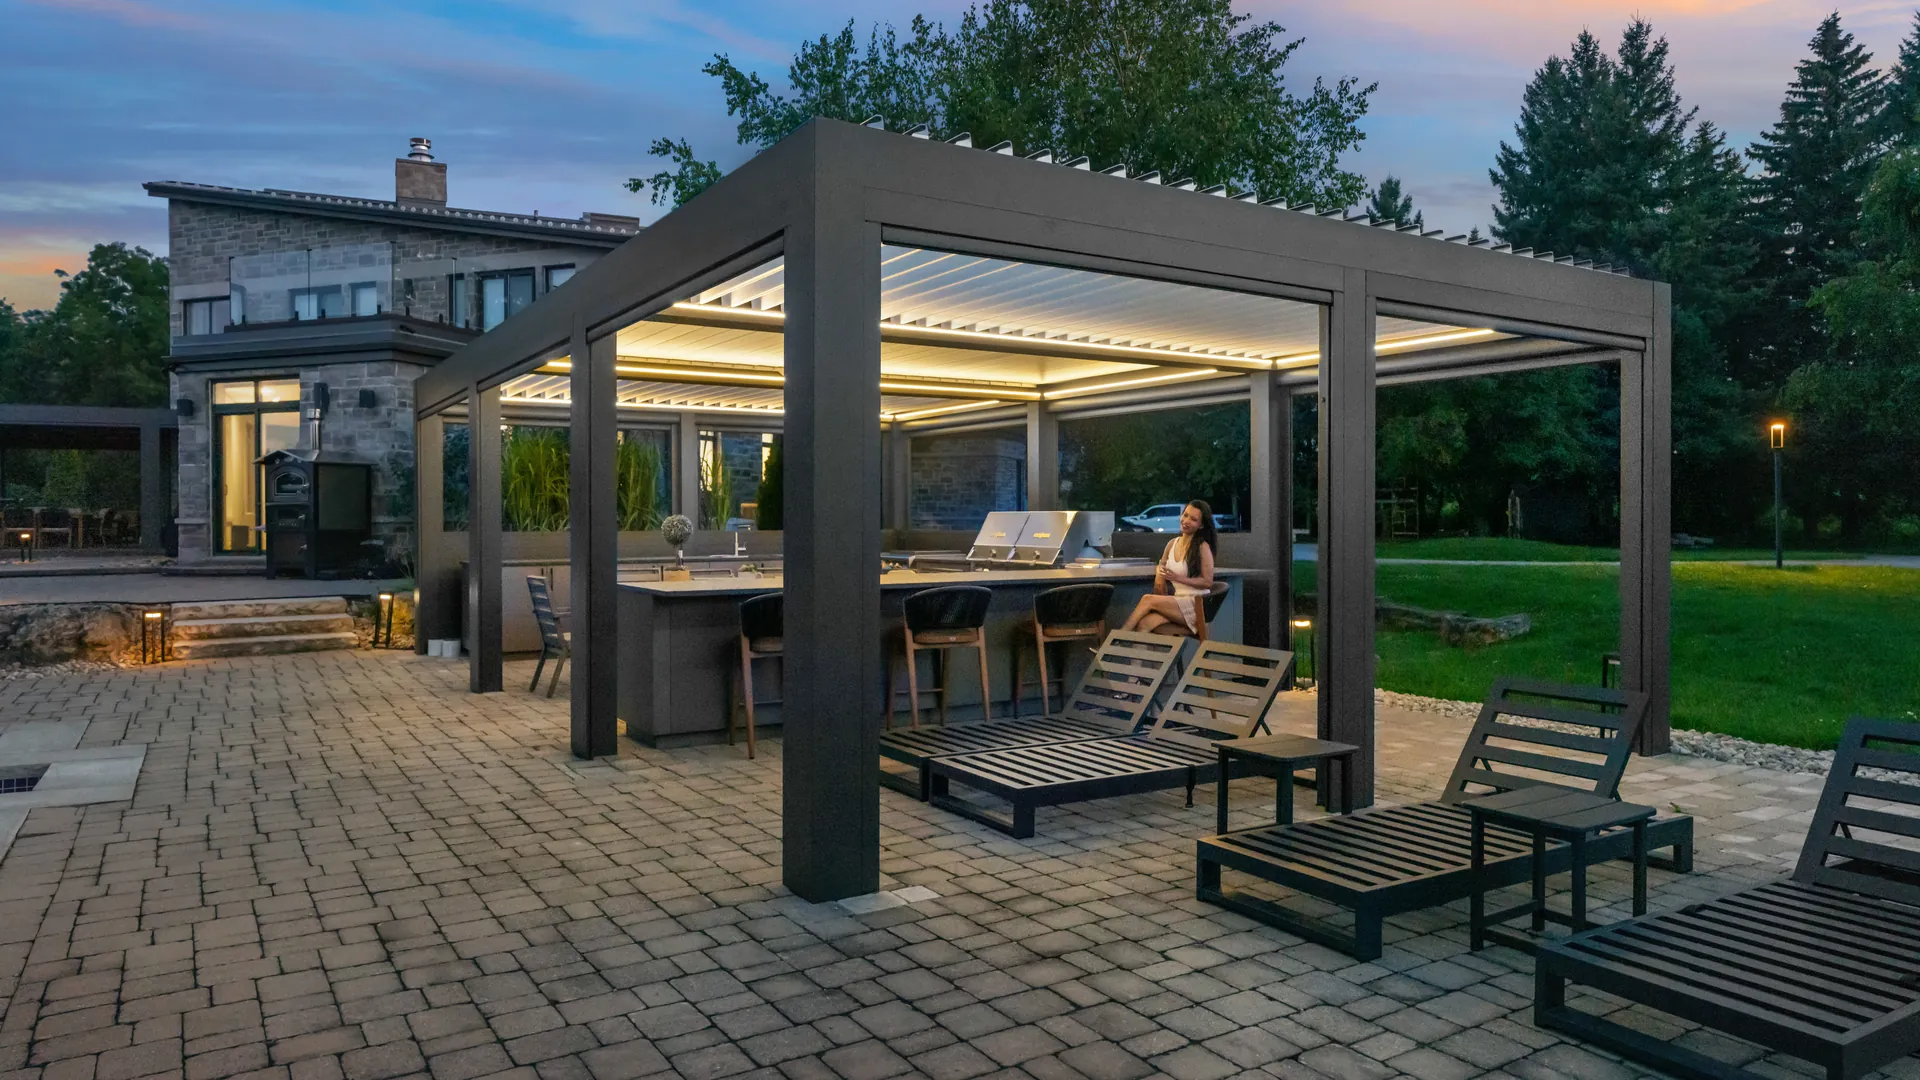
[Show/Hide]
TL;DR
- Begin with the purpose of the outdoor space, rather than color or decorative items.
- Think about things beyond just the width and depth of the pergola; include height, walls, doors, windows, stairs, equipment, grading, and potential post locations.
- Consider post locations and attachment points as primary factors before finalizing the plan.
- Coordinate louvers, drainage, screening, lighting, heating, and controls early on because they may influence the design and site preparation.
- Check the foundation capabilities, local wind and snow loads, permits, and wiring before production.
- Think of manufacturer measurements as planning limits rather than confirmation that the maximum loads and sizes can be utilized.
- Where there are site or building restrictions, let the restrictions dictate the pergola design before considering aesthetics.
Designing a custom-size pergola is different from deciding on a standard-size kit because dimensions are just one factor in the project. Custom size allows for greater flexibility in terms of the site location, but at the same time means that dimensions, posts, installation method, roof panels, drainage, roof controls, and accessories depend on each other.
A practical custom pergola design is not just about using the largest structure possible. It is about creating a pergola size that will suit a specific site and purpose and correspond to structural needs, circulation, and additional elements. A post may be good for the design in theory but create a problem when it comes to a doorway, BBQ station, pool path, or foundation.
A practical pergola size guide should therefore start with constraints and use cases. The idea here is to have a design that could be estimated, verified, permitted, if necessary, and installed without unnecessary delays caused by design changes. To achieve this objective, follow a clear decision order: first analyze the site and use, then calculate the footprint.
Start With Your Site, Use, and Measurements
Quick Answer: First, determine the area to be covered and how it will be used. Other factors include physical conditions that cannot be changed. Good pergola dimensions should consider width, depth, height, walls, openings, level changes, mounting surfaces, obstacles, and post sites. It’s better to have a site plan rather than a patio size.
Before selecting the dimensions, convert the property to a working site brief. Document how people enter and exit the property, what doors or access points need to remain clear, placement of any furniture or equipment, and realistic placement of any structural support. Additionally, document any completed surface, slopes, walls, soffits, railings, pools, hot tubs, or outdoor kitchen components that may reduce the usable area. This is the point at which the custom pergola differs from the basic kit; the pergola should respond to the site as opposed to forcing the site to conform to a pre-defined square.
Define What the Pergola Must Do
Begin with the definition of the purpose of the covered area. This lets you base the area on its real use rather than assumptions based on patio dimensions. Pergolas can have one or several purposes, but the purpose creates particular requirements for the area and circulation.
The purposes include the following:
- outdoor dining area with enough space for the table, chairs, and circulation behind the occupied chairs;
- lounge area with sofas, occasional tables, and clear lines of sight;
- outdoor kitchen with grill, countertops, preparation area, and circulation;
- area for a hot tub, leaving access to steps and servicing area clear;
- pool seating with circulation around the pool;
- entertaining area with possible reconfiguration of the furniture;
- commercial patio seating with circulation routes;
- outdoor multi-functional area for dining, cooking, and lounging.
The physical area where you can place the pergola is not necessarily the area that requires covering. When a pergola serves several purposes, first define the areas for each purpose, then decide the overall pergola size. This way, you won’t deprive any use case of the required space.
Map Fixed Features and Required Clearances
Secondly, make a simple sketch of the location and indicate everything that the pergola should not bump into or should be aligned with. Often, fixed elements play a more critical role in determining the available space for use than the property boundaries themselves.
Consider:
- exterior walls and corners;
- doors, including the direction of their opening;
- windows and windowsills close to the ground;
- stairways, landings, and railings;
- swimming pools, spas, and pool equipment;
- outdoor cooking areas and appliances;
- existing columns or other structural elements;
- roof overhangs and eaves;
- large trees and landscaping that may affect access;
- regular walking pathways;
- retaining walls and significant grade changes;
- property boundaries or setback requirements, if any.
Don’t assume that you have the entire deck or patio space available for your pergola footprint. If a door needs to swing freely or a walking path needs to remain open, then that area is part of the circulation regardless of whether or not it looks “available” by measuring tape.
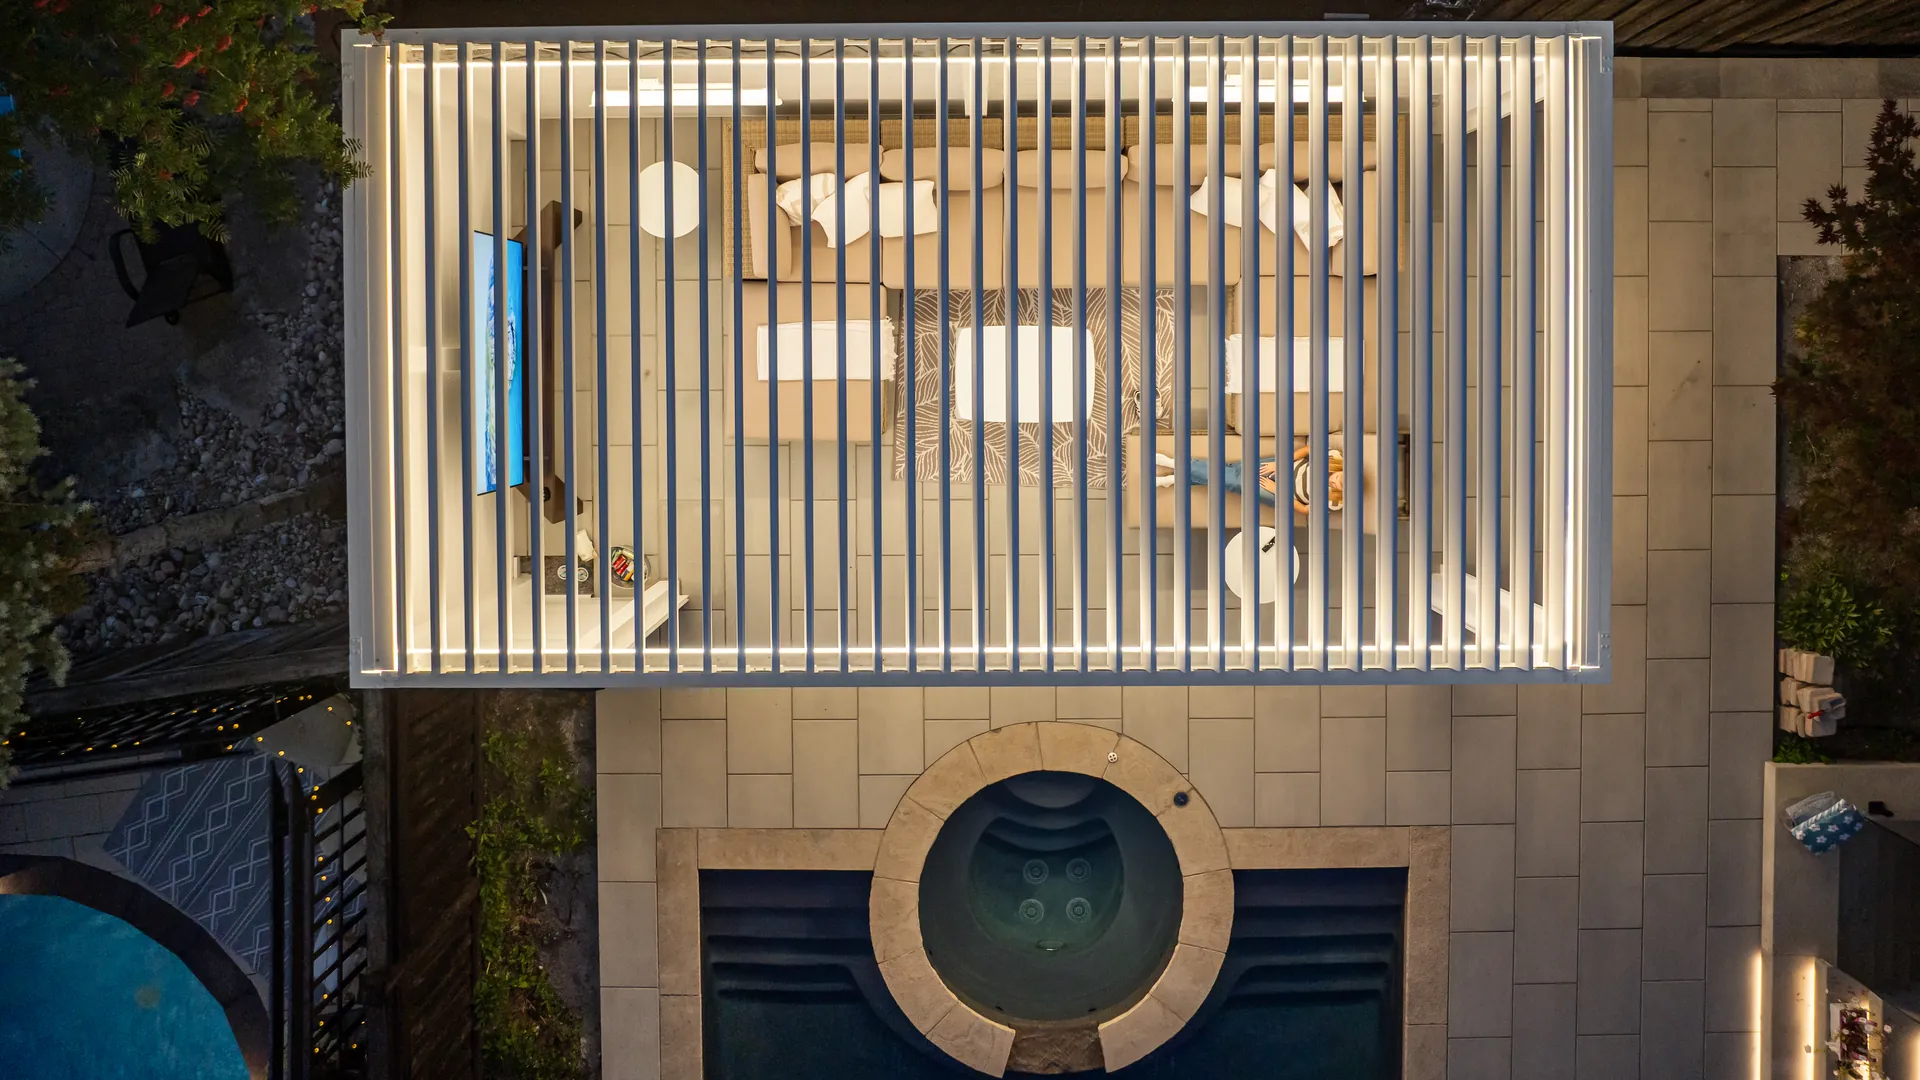
Take Accurate Pergola Measurements
After mapping the site, record pergola measurements in a consistent order. Early homeowner measurements are helpful for quoting and planning purposes, but ultimately, the final measurements used for manufacturing and engineering purposes should be recorded from project documentation, not simply an approximate sketch.
- Record total available width.
- Record total available projection or depth.
- Record the available height from the finished surface up.
- If you plan to attach to the house, record the appropriate wall and soffit heights.
- Record the distances to all doors, windows, stairs, railings, countertops, and other obstacles.
- Note any change in grade or surface elevation.
- Mark post location possibilities and record their relationship to edges and obstacles.
- Diagonals and squares are needed if existing patio or deck geometry is relevant.
- Take photographs of all sides, including at the point of connecting to the house, and of the ground or deck where posts would sit.
If you need to dig for foundations, another consideration is the potential presence of underground utilities. In the Province of Ontario, homeowners planning to dig must ask for their public utility locates from Ontario One Call. For the rest of Canada, use your province or region’s one-call process.
Choose Attached or Freestanding
An attached pergola works well when the covered part extends from the building and allows a proper connection. In this case, fewer support structures are required along the side of the house. However, the presence of a wall does not necessarily mean that there is a possibility of attaching the pergola to the wall. There are a lot of issues related to the wall assembly, connection details, height, drainage, and the project location that need to be considered.
With a freestanding pergola, you have more freedom since the structure isn’t tied to the house. It may be a good idea for a pool, spa, garden seating, or patio that is far from the building.
| Planning Item | What to Confirm | Why It Matters |
|---|---|---|
| Intended use | Dining, lounge, kitchen, pool, hot tub, mixed use | Sets the coverage and circulation requirements |
| Required coverage | Exact zone that should sit under the roof | Prevents unnecessary oversizing |
| Fixed obstacles | Walls, doors, windows, stairs, equipment | Defines usable footprint |
| Clearances | Walkways, access, service space | Protects function after installation |
| Support concept | Attached or freestanding | Changes post and connection planning |
| Candidate posts | Practical support locations | Affects layout and foundations |
| Key measurements | Width, depth, height, elevations | Supports design and quoting |
Consider choosing an attached pergola if the area of coverage begins right from the house, and if the structure will provide a good anchorage point. Consider choosing a freestanding pergola if greater flexibility is desired or if the pergola should not be anchored into the house.
Select attached if: the pergola should be an extension of the house over a patio, a terrace, or other outdoor living space and if the wall, roofline, and height of attachment are compatible.
Select freestanding if: the pergola is positioned away from the building, will cover a pool or spa, a garden or patio that is detached, or when anchoring into the house will create a problem.
Investigate before selecting: wall and soffit height, roof overhang, doors and windows, anchorage possibilities, post positioning, ground conditions, drainage, and permitting and engineering issues.
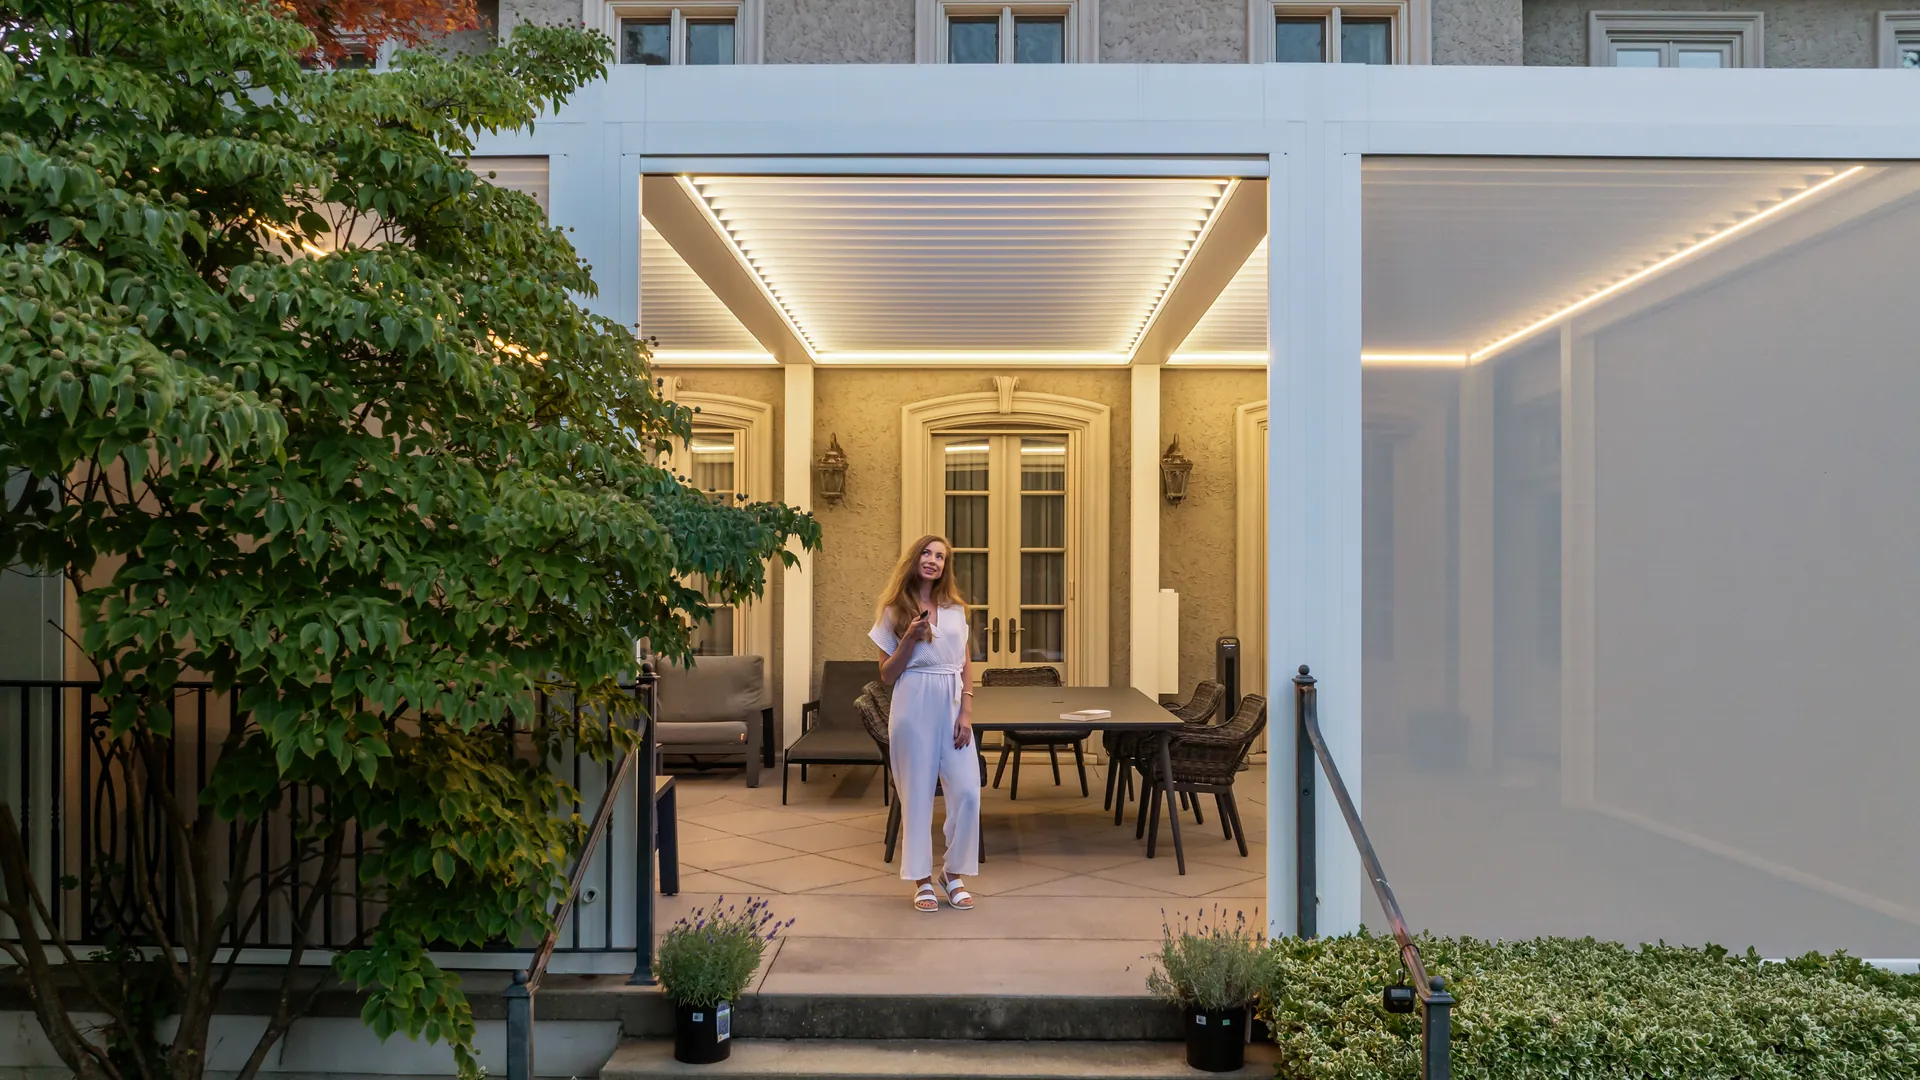
Turn Measurements Into the Right Pergola Size
Quick Answer: The size of a pergola does not depend on its width and length only. The correct size needs to be based on the usable space, post spacing, beam span, louver span, height, roof sections, and application purpose. LOUSOL gives the dimensions of their bespoke product, but the actual dimensions have to depend on the particular structure rather than the sum of all max dimensions given.
With the basic layout complete, a pergola size guide should distinguish between three concepts that are often treated as the same: the total patio/deck area, the area that needs protection from weather and sun, and the size the pergola structure can support. The final layout should meet all three criteria. This means that circulation should be protected, post positions must avoid activity areas, and the size must not exceed the spans and heights that the chosen system can support. On the LOUSOL Custom Size Pergola web page, the planning ranges are given as 5-15 feet for the louver/span of the main beam, 8-23 feet for the beam span, and 8-14 feet for post height.
Set the Footprint Before Choosing the Structure
Determine the difference between the total site size and the size that needs to be covered by the roof. That will allow you to determine the roof footprint based on actual use rather than a habit of covering every inch of your site.
Determine:
- total patio or deck sizes;
- zone to be covered;
- circulation area to remain uncovered;
- footprint of furniture and equipment;
- areas to remain post-free;
- clearances for doors, staircases, pools, kitchens and other service areas.
For example, you don’t need to cover a 16 × 20 ft patio with a 16 × 20 ft pergola if one side needs to be a walkway or part of an outdoor kitchen.
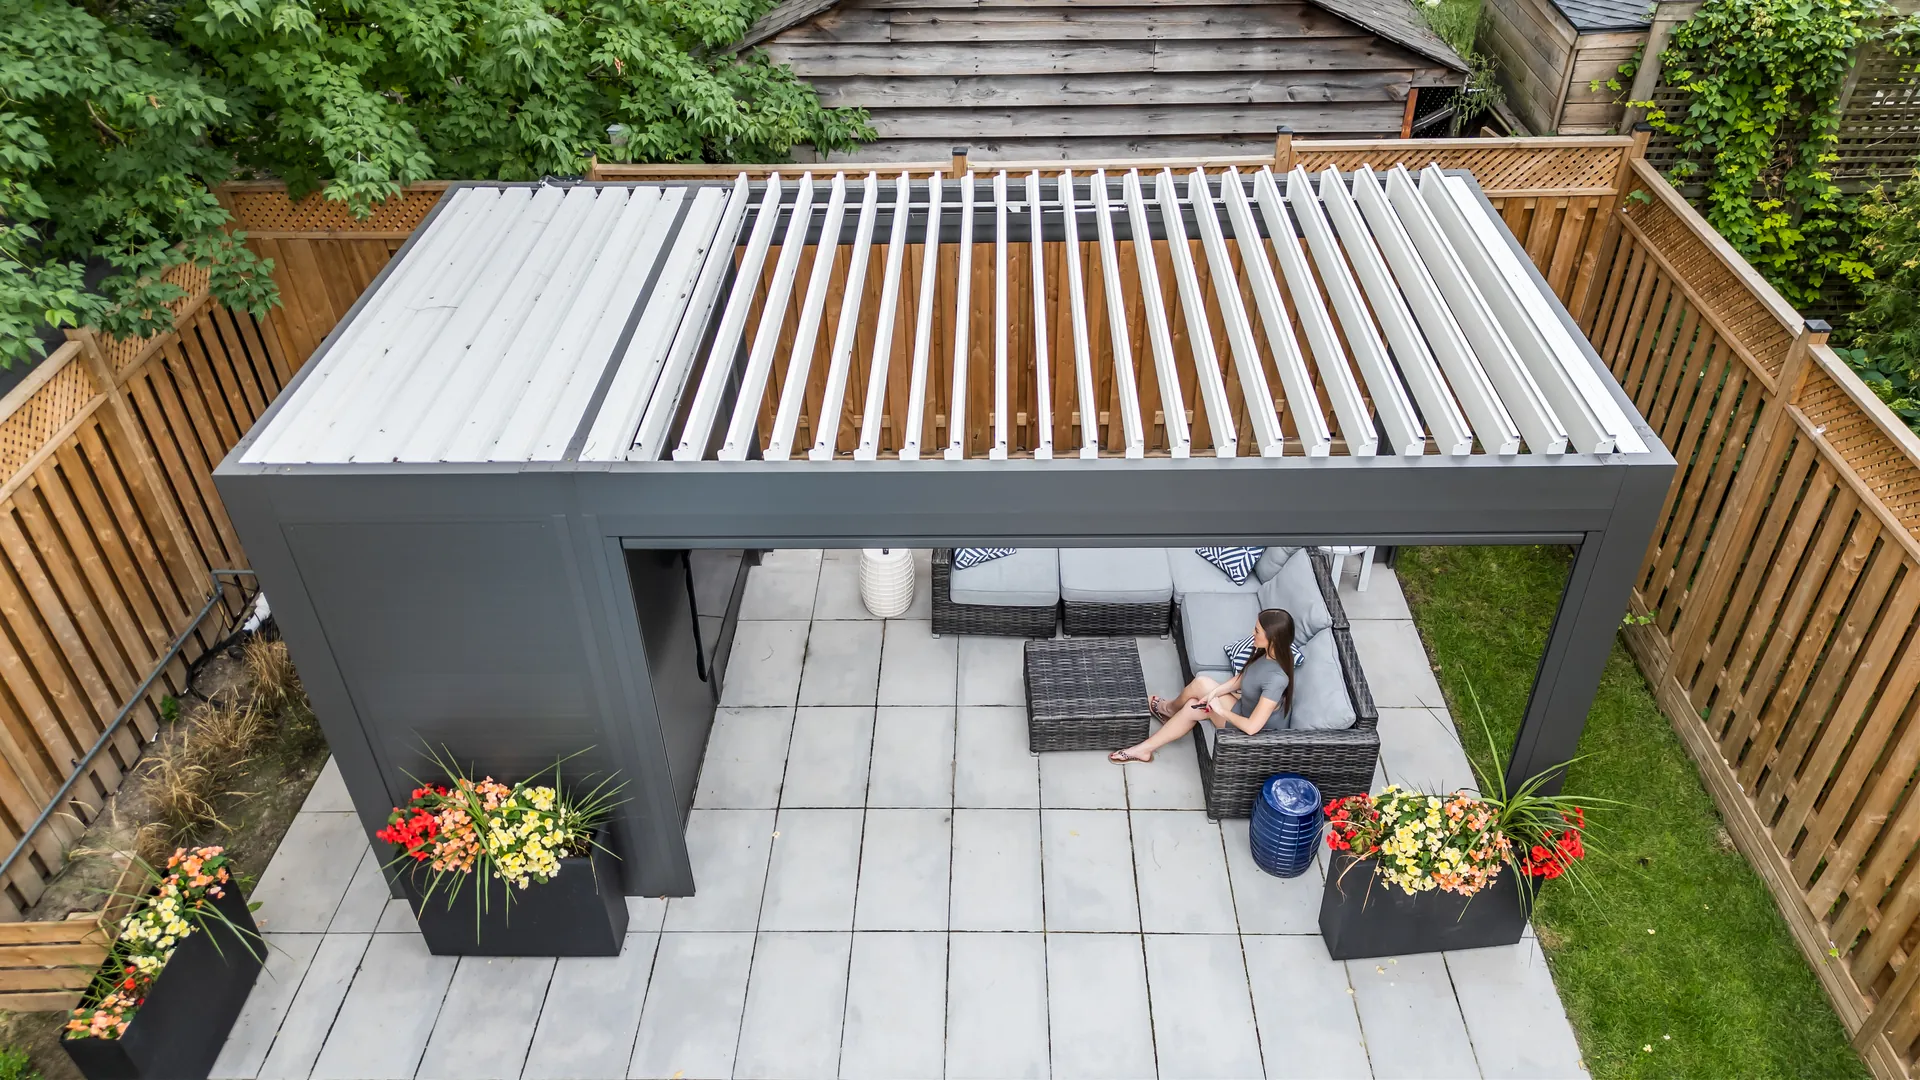
Match Span and Height to the System Limits
A pergola size guide should also consider the product system that the structure belongs to. With regard to LOUSOL Custom Pergolas, the current range is the following:
- louver/main beam span: 5-15 feet;
- beam span: 8-23 feet;
- post height: 8-14 feet.
However, these are not absolute values that provide some kind of universal recipe for design. The span itself depends on loads, supports, roofing design, and general project features. Therefore, a tall pergola with large spans and a challenging condition of wind/snow is a different task than a short, sheltered pergola.
Moreover, height influences the structure’s overall feel. If the structure is too low, it may appear cramped and incompatible with openings and other equipment, whereas an unnecessarily high structure may ruin the enclosure effect and impact the way side screens and other features are designed.
Plan Post Locations Around How You Use the Space
Consider post placement alongside footprint placement, not separately. Sometimes the most visually appealing position for the post is not necessarily the most functional one, and a post falling nicely on paper might hinder the intended use of the space.
See whether the chosen posts:
- obstruct a door or gate;
- impede a main path;
- get in the way of a barbecue, a countertop, or an appliance door;
- cause an odd pathway around the pool or hot tub;
- clash with intended furniture placement;
- are placed where a suitable bearing structure exists;
- cause problems for drainage and/or future side screens.
In case an unobstructed view and pathway are priorities, consider post placement as a key requirement rather than an add-on. LOUSOL’s projects gallery offers standard layouts as well as unique arrangements, yet unusual bearing structures must always be seen as a design solution for the specific project rather than something to mimic from photographs.
Decide Whether You Need One or Multiple Roof Zones
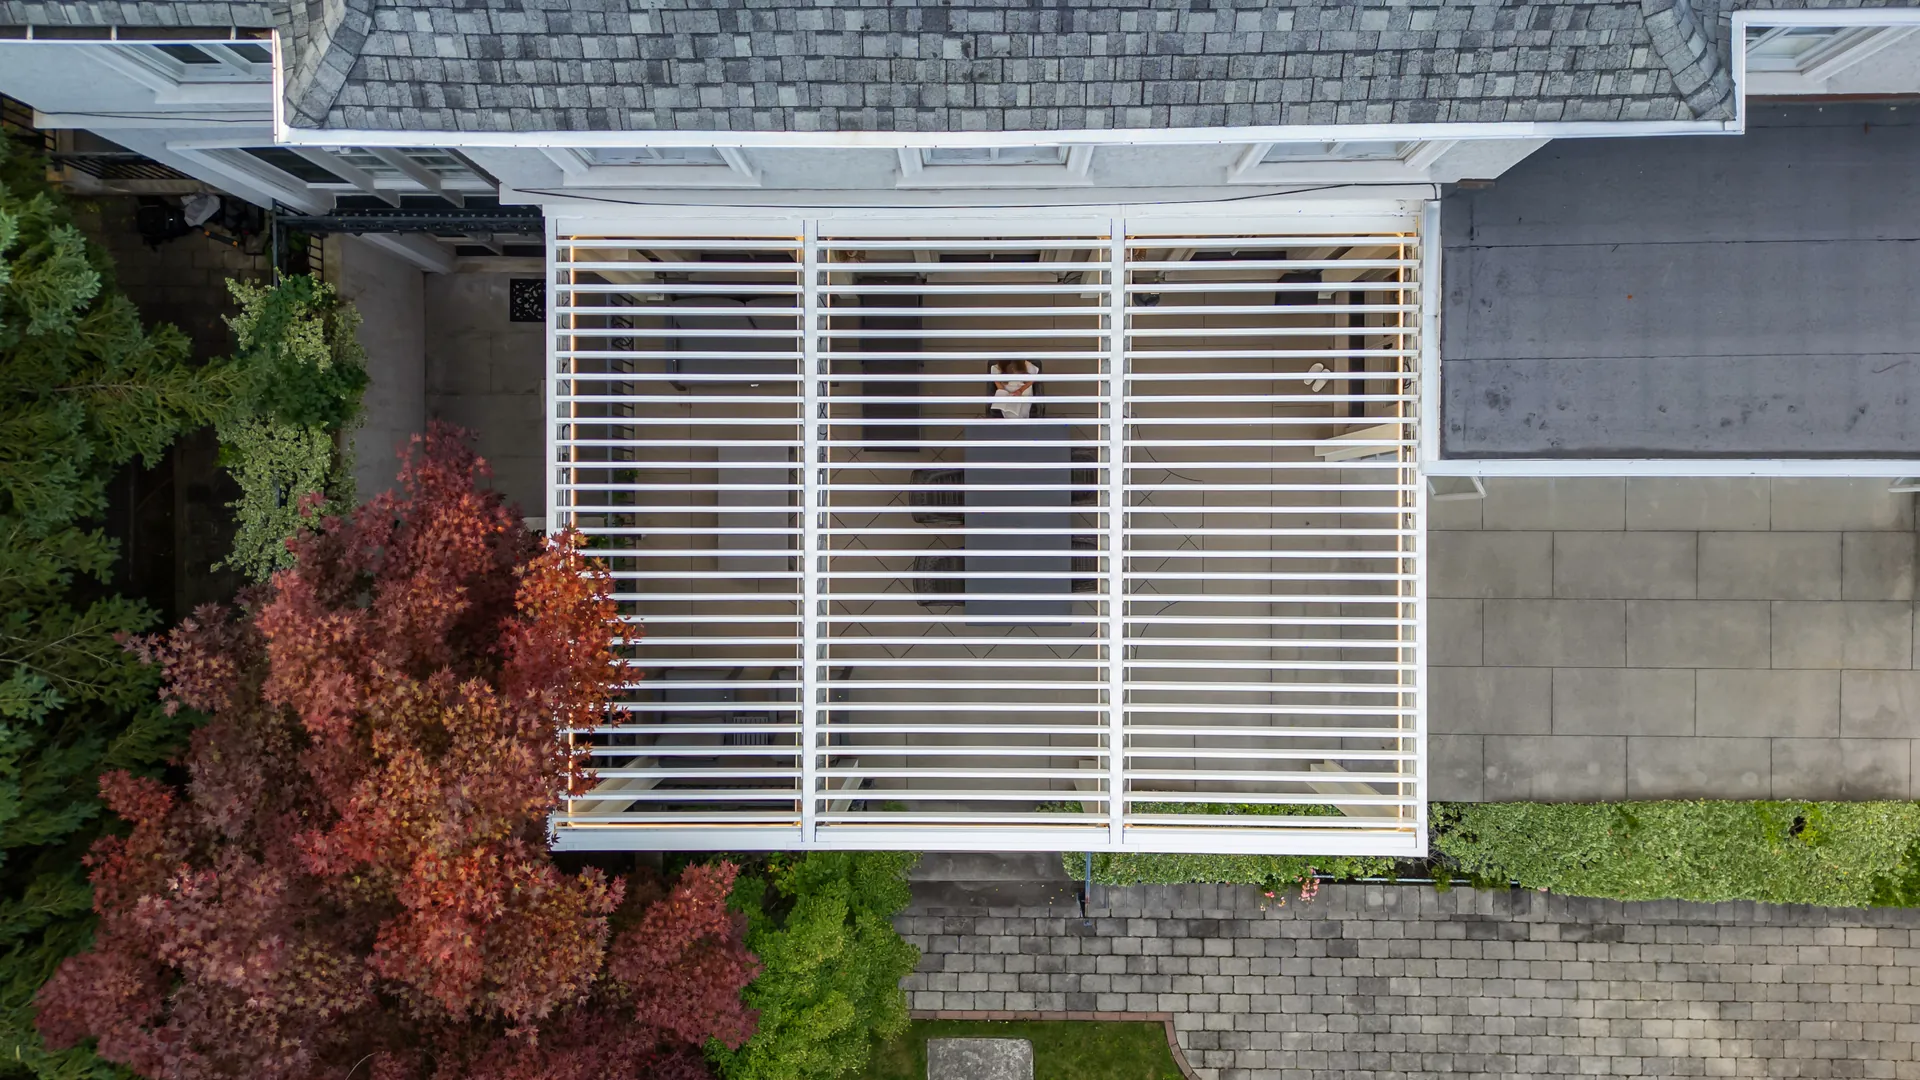
Large, wide, or multifunctional areas would benefit more from being divided into several zones for roofing. Dividing is also relevant when different activities occur in different parts of the outdoor area, or when the area’s geometry requires several structural bays.
The division of the roof into zones is based on such factors as total dimensions of the area, actual direction and span of louvers, structure organization, position of the posts, and functions that are expected to be performed in each part of the area. Cooking, eating, and relaxing zones may provide different control aspects, and the relation to the house and drainage will influence the choice as well.
| Site Condition | Footprint Priority | Post Constraint | Height Consideration | Roof-Zone Question |
|---|---|---|---|---|
| Small patio | Cover only the primary activity zone | Keep circulation edges clear | Coordinate with doors and soffits | Can one section cover the useful area? |
| Outdoor kitchen | Protect cooking/dining zones without blocking work areas | Avoid counters and appliances | Allow required working clearances | Should cooking and seating be separate zones? |
| Poolside | Cover seating while preserving pool access | Keep routes open | Coordinate with sightlines | Is one continuous zone practical? |
| Long terrace | Maintain usable coverage over length | Avoid excessive interruption | Coordinate with façade geometry | Would multiple sections improve control or layout? |
| Mixed-use yard | Match coverage to each activity | Keep transition zones open | Varies by use | Do different activities need separate roof control? |
Use one roof zone if one continuous zone will be sufficient to cover the functional area in the system’s span and support capacity. Use multiple roof zones if the space is too large, long, wide, and irregular, or if it has multiple functional areas for one roof zone to be effective.
Use one roof zone if: the seating, dining, or any other functional area has one simple shape and one roof control can handle the entire space.
Use multiple roof zones if: multiple areas within the space require separate coverage, multiple bays are required because of the geometry of the site, or a large or wide space cannot be managed by one roof zone.
Consider the space dimensions, louver direction and span, beam and post locations, drainage points, attachment points, and separate activity areas.
Plan Roof, Controls, Engineering, and Installation
Quick Answer: Do not approve custom pergola specifications independently of the roof, drainage, controls, additional elements, foundation, power supply, and structure. Motorized shutters, ZIP screens, lights, heaters, privacy fences, and automation may affect wiring, openings on the sides, beams and posts, groundwork, and order of installation. All these factors should be considered during the design phase, not once manufacturing has started.
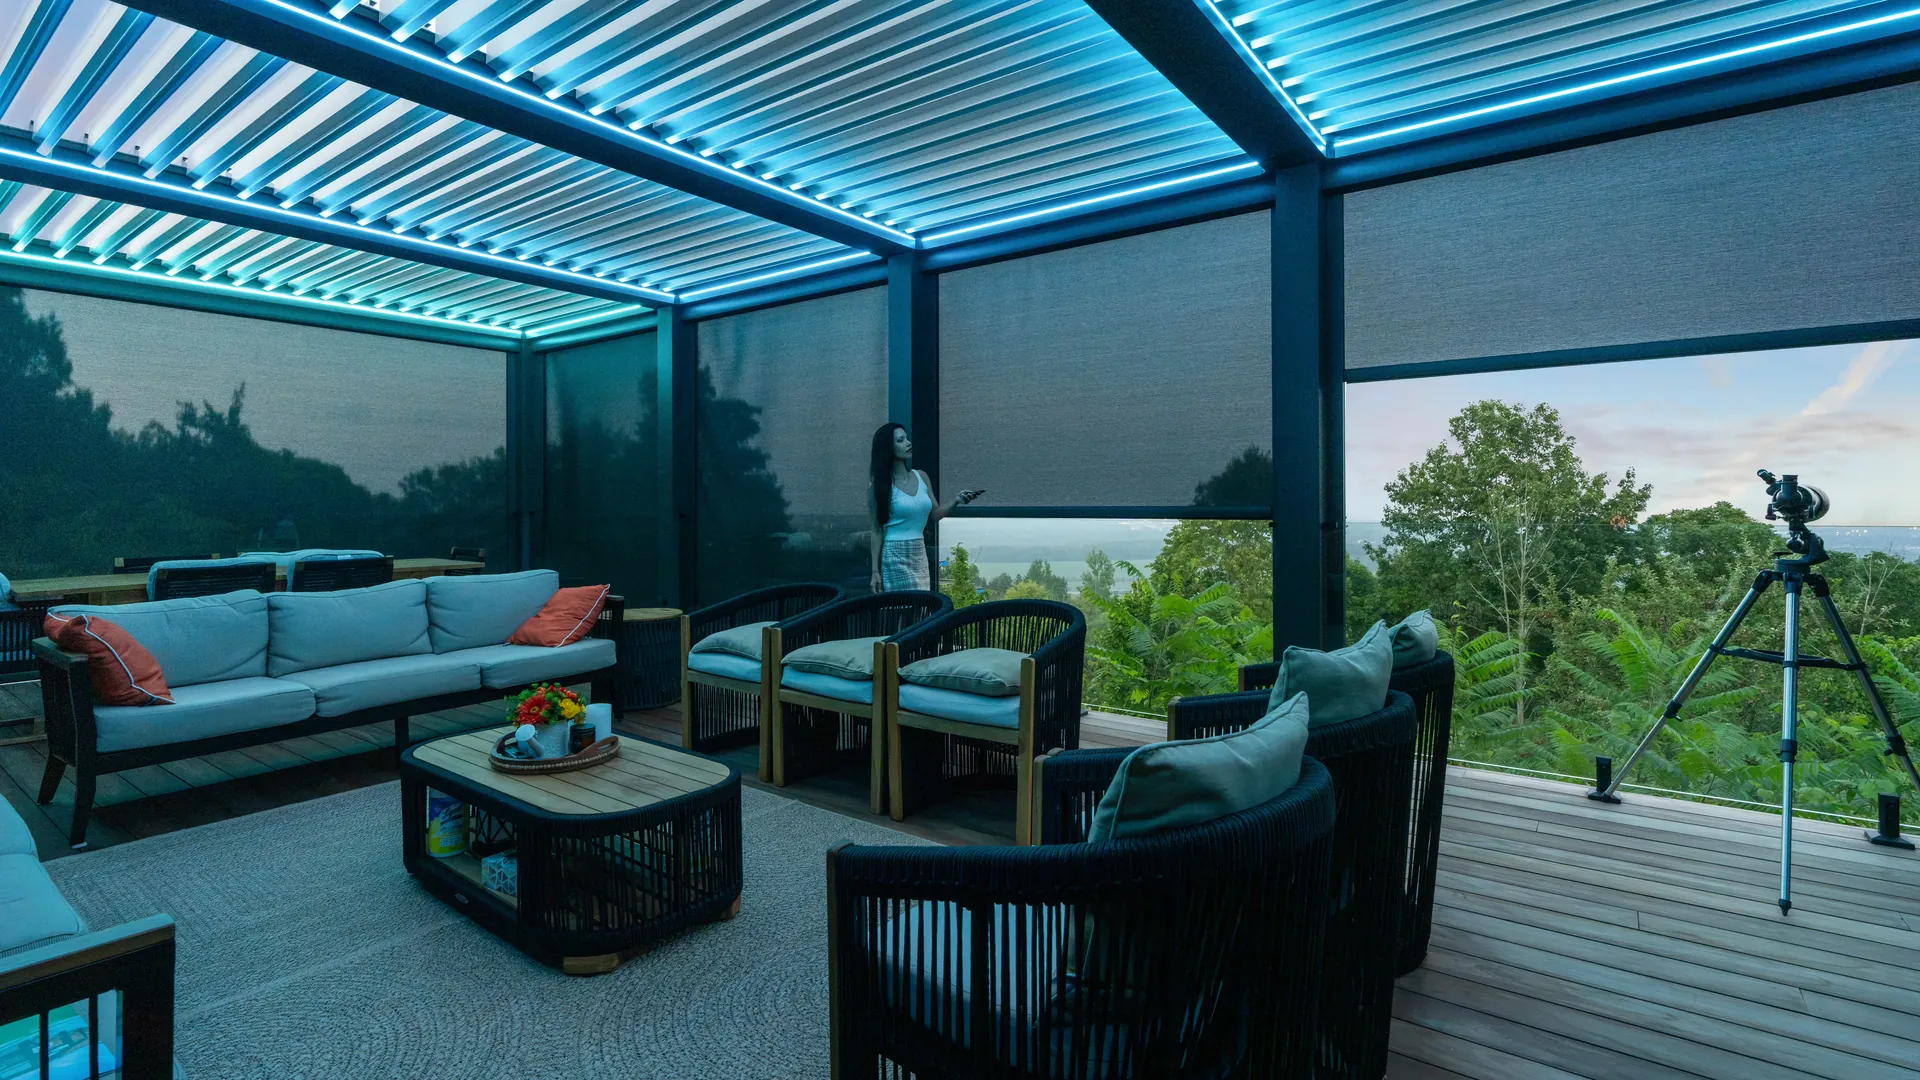
In this stage, however, the project moves beyond just the sizing to full configuration. The roof, water management system, sides, lighting, heating, control devices, the foundation, and electrical systems all have to work with one another within the same structural design. LOUSOL provides a selection of manually controlled, motorized, and smartphone-controlled louver control devices along with pergola accessory systems that include ZIP screens, LED lighting, heating, privacy screens, and automatic systems. All of these may bring their own considerations for mounting, opening sizes, power needs, control location, and installation order. It is important to get all of these sorted out structurally before manufacturing begins to avoid last-minute additions requiring any changes to posts, beams, wiring, or the prepared site.
Choose Manual, Motorized, or App-Controlled Louvers
The available control options for a LOUSOL custom louvered pergola should be chosen based on how often the roof will be adjusted, the level of automation required, and whether any powered accessories are planned.
- Manual – uses a manual crank and does not use an engine for louver operation. It is a simple control system when only physical control is needed.
- Motorized – operates the louvers with remote control and requires appropriate electrical planning.
- App – adds mobile phone or smart assistant control system to the electric system. Additional automation solutions from LOUSOL could also be incorporated into the electric pergola depending on chosen design.
When the louvered pergola includes motorized screens, lights, or heaters, it is beneficial to make a decision regarding the control system simultaneously with the choice of other elements.
Plan Louver Direction and Rainwater Management
Louver direction should not be looked at in isolation but as part of the site design. The roof system direction is related to sun control, the direction of the structure with respect to the house, roof panels, and water movement through the integrated drainage system.
As per LOUSOL, their louvers are designed such that rain drains off even when they are closed, but still, the pergola is an outdoor structure and not a closed room. Rain by wind, condensation, snow buildup, and some water entry are inevitable when one considers that there are outside factors. This is relevant when one is trying to decide what is going to be under the roof and how weatherproof it is.
When planning, make sure you know which path the water will take through the roof and post/gutter system and where it will exit from and whether the finished grade/patio drainage can accommodate this path. Drainage should not be an afterthought after you have installed the posts.
Add Screens, Walls, Lighting, and Heat Early
It is best to incorporate accessories whose size and specifications have been predetermined prior to approving final drawings.
- ZIP screens can be incorporated in order to create vertical retractable screens for shade, privacy, and enclosure. ZIP screens make use of side tracks, which means that the size of the side openings and method of mounting are important.
- Aluminum privacy walls incorporate a permanent solution for the side elements and can be installed with or without gaps.
- Integrated LED lighting lets you enjoy the structure at night and requires a control and electrical plan.
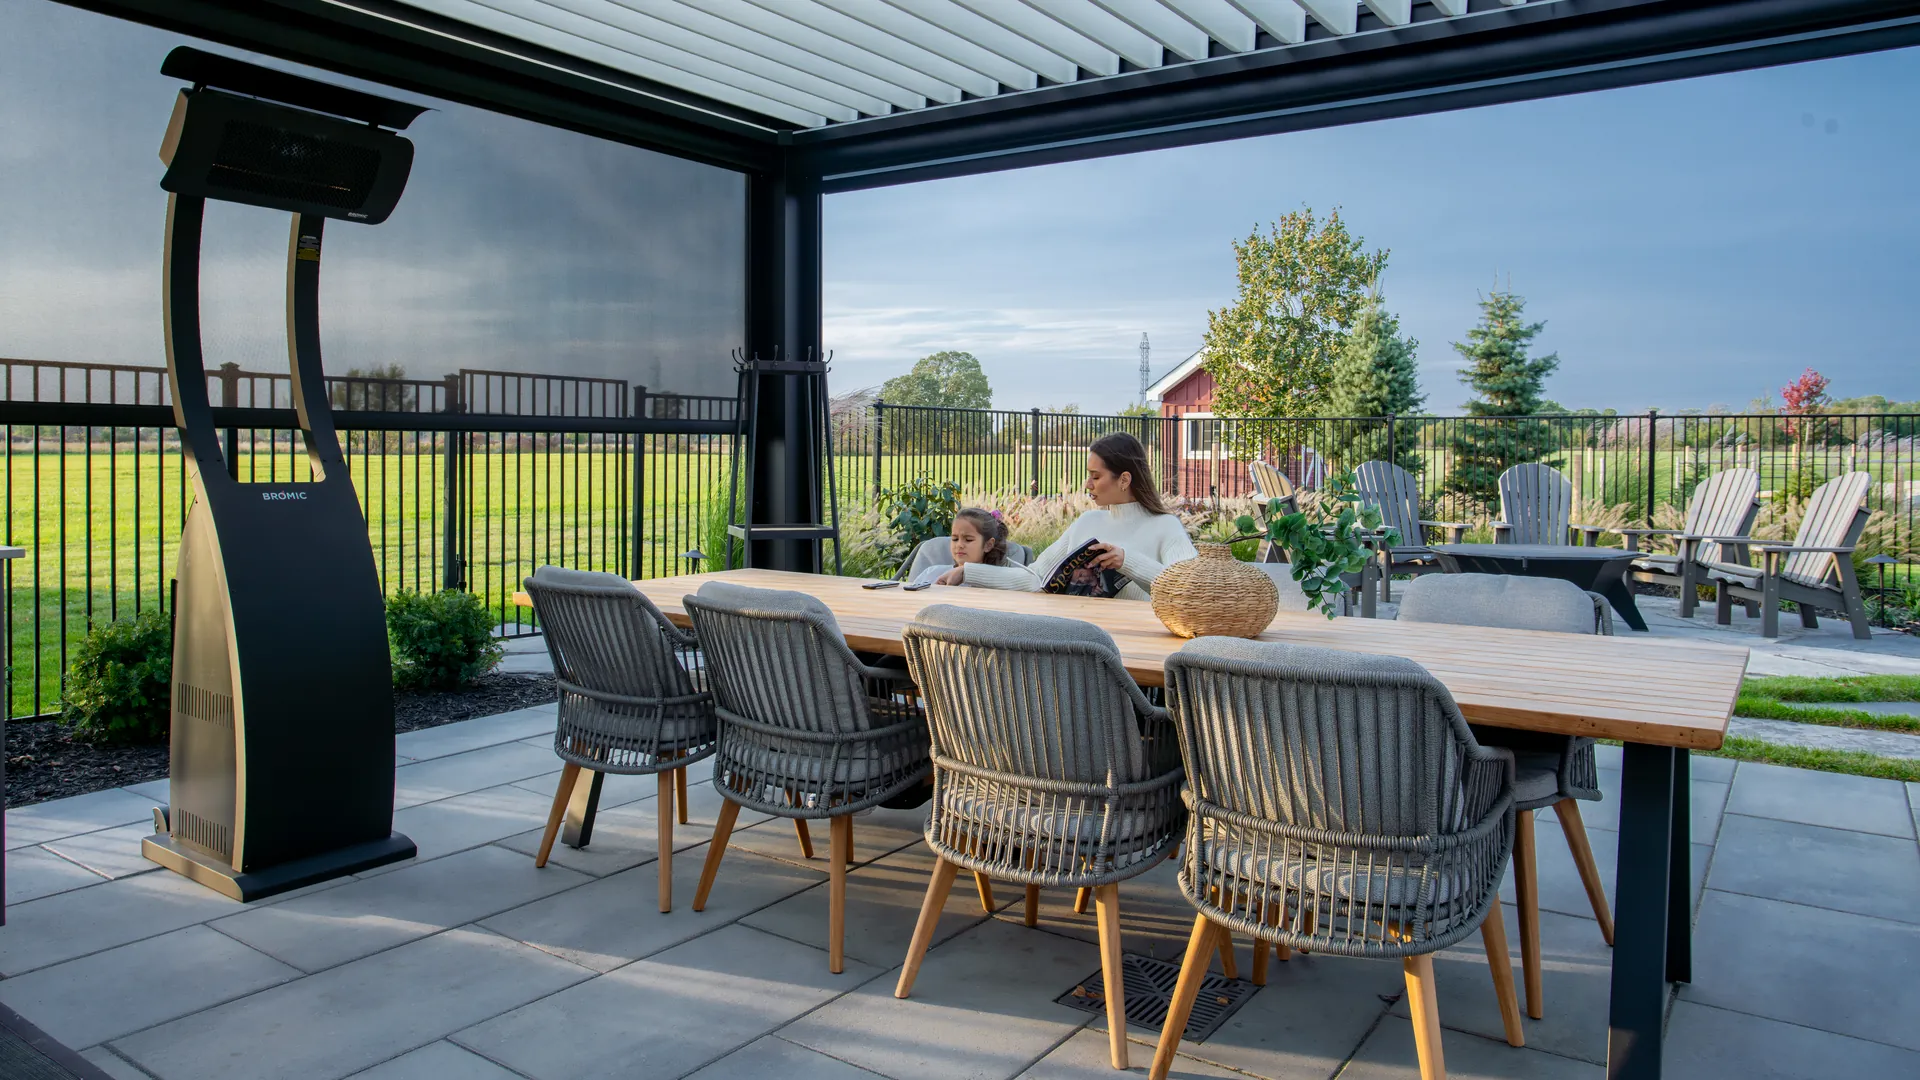
- Pergola heaters help you use pergolas even when temperatures drop, and you must be careful about where and how you place them.
- Automation can be done to synchronize compatible systems such as louvers, screens, lighting, and other equipment.
If screens, walls, heaters, and/or integrated lighting are part of the structure’s intended purpose, they should be designed into the structure, not added as decoration after the fact.
Plan Power and Controls Before Installation
Electrical planning will be required for the powered components of the pergola, not the aluminum frame. Depending on the configuration selected, this can include:
- motorized louvers,
- motorized ZIP screens,
- LED lighting,
- electric heating,
- and automation controls.
Under LOUSOL’s terms, electrical work must be carried out by a licensed electrician according to the relevant electrical code. According to the Electrical Safety Authority in Ontario, most electrical work requires prior notice before starting, and a licensed electrical contractor makes that notification when he or she is hired for the job.
Electrical requirements can vary based on local codes and laws, so the scope of electrical work needs to be established locally wherever the pergola is going to be set up. The main planning consideration is consistent everywhere: identify powered components before installation so you can plan supply routes and controls.
Verify Loads, Foundations, Permits, and Installation
Before a custom aluminum pergola goes into production, verify the conditions, technical and otherwise, that might modify the design and installation of the pergola.
Verify:
- local wind and snow design criteria;
- capacity and suitability of proposed slab, footings, deck, or surface to which it will be anchored;
- foundation and anchoring requirements for chosen product;
- site drainage and grading;
- permits or zoning requirements;
- setback, easement, conservation or condominium/strata restrictions;
- which party is responsible for installation;
- which party is responsible for electrical;
- and locations of underground utilities prior to excavation.
According to LOUSOL’s Terms of Service, permits, zoning, approvals, and site preparation are the client’s responsibility, and installation is charged separately. Technical drawings or other specifications can be provided to assist in the application process.
The National Building Code of Canada 2025 is a model code, and the NRC states that provinces and territories adopt or amend model codes. Ontario publishes its own Building Code regulations, and BC has the BC Building Code 2024. Verify the relevant standards with the jurisdiction having authority.
If excavation is required, the appropriate utility-locate process should be followed. The Canadian Common Ground Alliance Best Practices represent national best practices for damage prevention, but the local one-call process is provided by provincial one-call centers.
| Feature or Requirement | Planning Impact | Site Requirement | Electrical Requirement | When to Decide |
|---|---|---|---|---|
| Manual louvers | Roof/control choice | Standard structural support | No motor power for louver movement | Before final quote |
| Motorized louvers | Adds powered roof control | Coordinate control and equipment location | Yes | Before final drawings |
| ZIP screens | Affects side openings and tracks | Clear side spans and mounting surfaces | Only for motorized screens | During layout design |
| Privacy walls | Changes side enclosure and circulation | Confirm wall location and opening needs | Depends on added features | During layout design |
| LED lighting | Adds integrated evening lighting | Coordinate routing and control | Yes | Before electrical rough-in |
| Heaters | Affects usable zones and clearances | Confirm mounting/location requirements | Yes for electric units | Before electrical planning |
| Foundations/anchoring | Can govern post positions | Suitable slab, footings, deck, or other support | No | Before production |
| Permits/approvals | May affect size or placement | Jurisdiction-specific | Possibly separate electrical notification | Before ordering custom work |
For additional installation context, review LOUSOL’s pergola installation guidance before preparing the site.
Custom Pergola Planning Examples by Space
Quick Answer: One and the same planning approach leads to different pergola designs depending on the area. The small patio calls for an emphasis on movement and coverage; the outdoor kitchen demands clearance zones; the poolside pergola needs to keep access open; the long terrace can be a combination of different structures or roof areas. LOUSOL real projects prove the importance of the right footprint.
The most effective use of real examples is to illustrate how planning priorities change from place to place. For instance, a small patio might require careful management of circulation, whereas an outdoor kitchen requires coordination of roof and counters, as well as other elements. Pool installations involve access and view considerations, and a long terrace brings its own questions about posts and roof zoning. Examples provided below were chosen from the recent project gallery of LOUSOL. The dimensions and specifics of the examples are provided for illustration only; they are not meant to be used as guidelines.
Compact Patio or Terrace Example
Small patios should opt for coverage discipline over covering everything that could be covered. Custom installations by LOUSOL on 12 × 14-ft patios, such as condo terraces and residences, demonstrate how a small space can accommodate an entire louvered roof installation.
In a small patio space, focus on:
- the key seating/dining space;
- the comfortable circulation path from the house to the yard;
- the clearance for the door and windows;
- post placement that will not disrupt the functional floor space;
- whether it can be attached or freestanding;
- the height relative to the building’s pergola; and
- whether side screens will cut down the opening space.
The point here is not “choose 12 × 14.” Cover the functional space and leave room for movement.
Outdoor Kitchen or Poolside Example
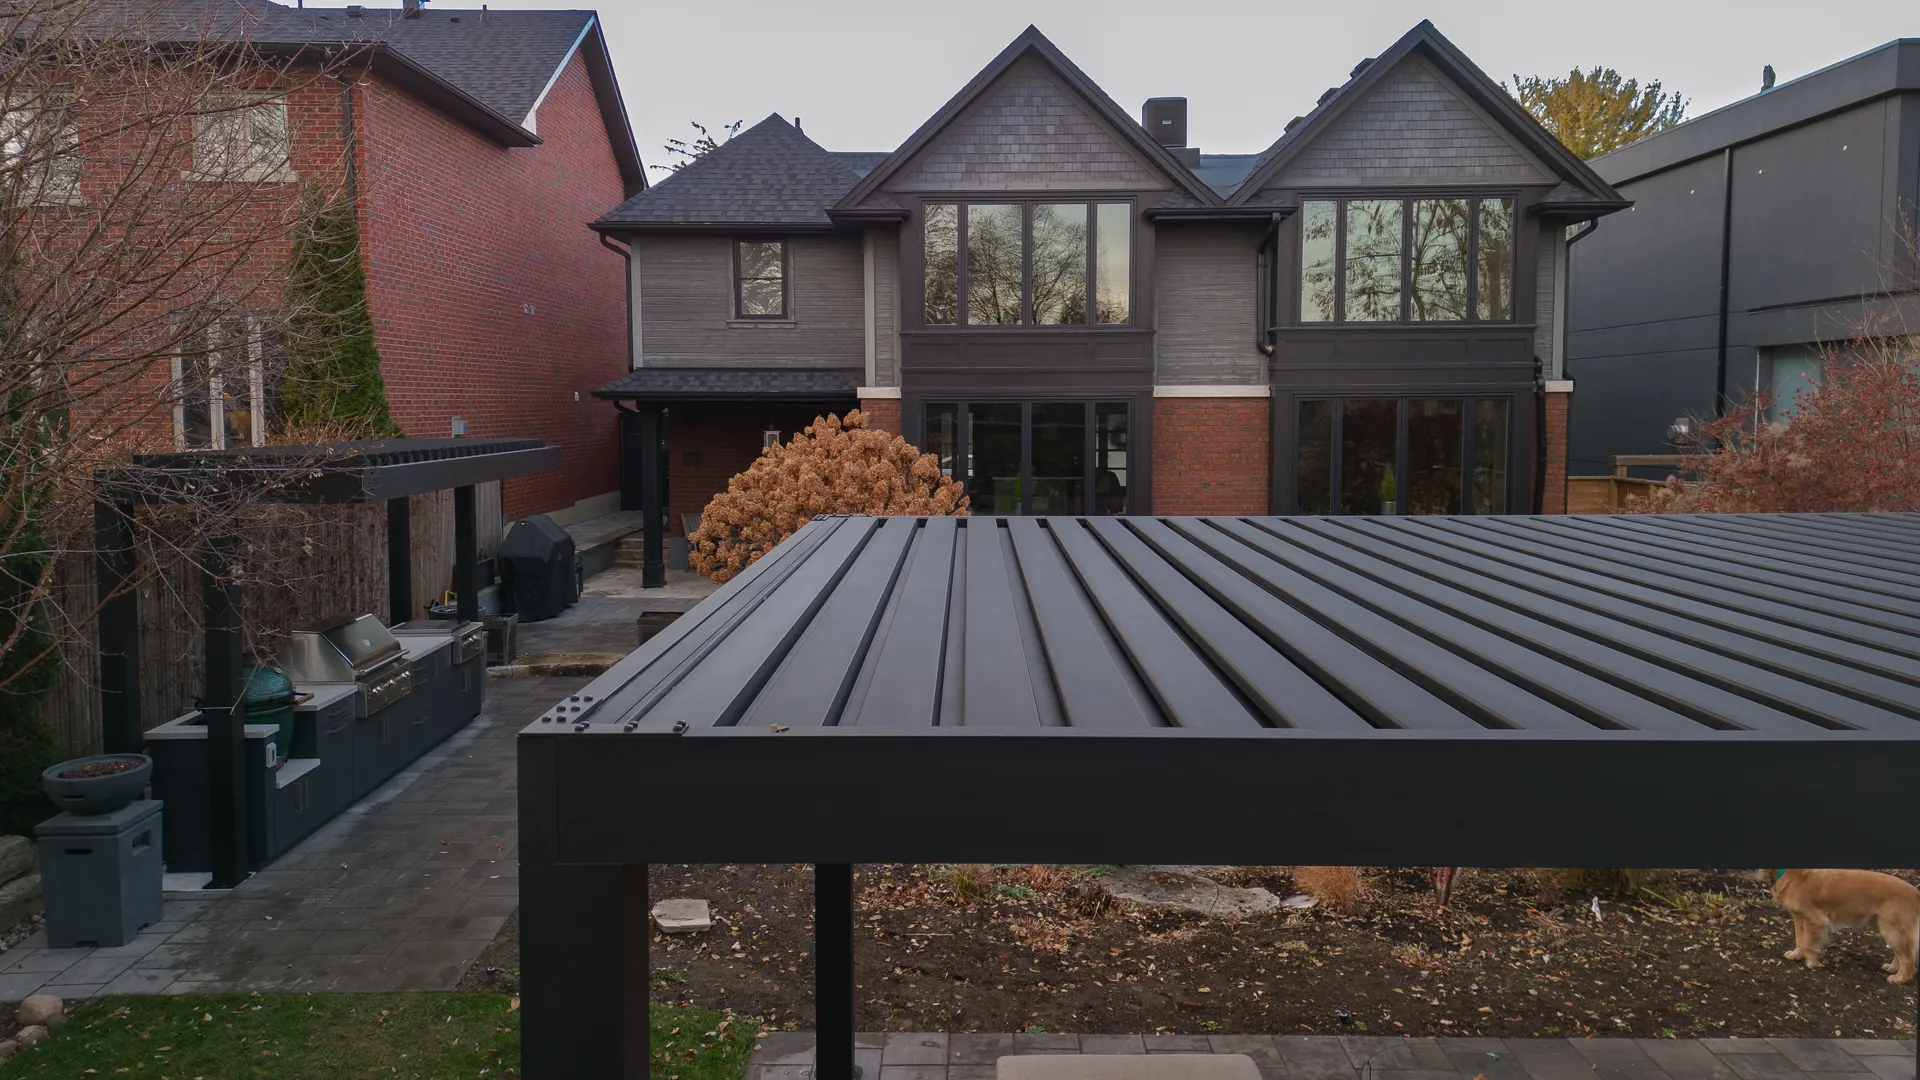
LOUSOL describes an outdoor kitchen pergola in Etobicoke with dimensions of 5 × 16 ft and 14 × 18 ft, comprised of two sections. This project features motorized louvers and warm LED lighting. The two sections demonstrate how an alternative design can suit a site that a single rectangular roof cannot accommodate.
The list of planning issues for outdoor kitchens would include:
- location of the grill, counter, and appliance doors for clear workspace;
- human traffic movement from cooking area to the place for sitting;
- location of posts without blocking the cooking preparation path;
- zones which require roofing;
- most beneficial placement of lighting;
- interaction of heat and smoke sources with the proposed structure and mounting requirements.
Another separate 12 × 16 ft pergola in Mississauga features motorized louvers and motorized ZIP screen. Planning of the poolside pergola should leave open access and avoid having any posts where they would narrow natural walking paths.
Long or Multi-Zone Space Example
Large spans pose another design challenge compared to small patios since it will need to be functional for the whole length. One of the examples for motorized louvers and a ZIP manual system is LOUSOL’s 12×27ft project in Newmarket. Its “double” system is helpful to remember that large spans may consist of more than one section of the structure or roof.
For long terraces, determine how the uses of the space vary from one end to the other, i.e. dining area on one end and lounge area on the other end, or commercial seating groups. Posts, orientation of the louvers, control mechanism, and drainage design need to correspond to this pattern. Number of bays or roof sections need to originate from the project itself.
| Space Type | Main Constraint | Coverage Priority | Post Priority | Useful Features to Consider | Key Question |
|---|---|---|---|---|---|
| Compact patio | Limited footprint | Main seating/dining zone | Keep floor area open | Lighting, selected screens | What area genuinely needs coverage? |
| Outdoor kitchen | Equipment and work clearance | Cooking + dining as required | Avoid counters/appliance paths | Lighting, motorized roof | Can people cook and circulate without conflicts? |
| Poolside area | Safe, direct movement | Seating/shade zone | Keep pool access open | Screens, motorized roof | Do posts narrow the route to the pool? |
| Long terrace | Repeated or separate uses | Continuous or zoned coverage | Support the long layout logically | Multiple controls/screens | Would more than one roof zone improve use? |
| Mixed-use yard | Competing activities | Prioritize the most used zones | Preserve transitions | Lighting, heat, privacy | Which functions need to operate at the same time? |
Common Custom Pergola Planning Mistakes
Quick Answer: The biggest problems occur when you determine the pergola size before considering post placement, foundations, drainage, attachments, accessories, or local restrictions. A good process ensures you identify all hard constraints to minimize the risk of design changes and site-preparation problems.
In many cases of pergola design issues, the mistake occurs because critical decisions are made out of their proper sequence. It may seem that everything was perfectly designed on paper, but then you discover a post blocking your way to the door, a screen that doesn’t provide enough room, or no place to install the intended foundation. The same mistakes can happen if you add electrical fixtures at the wrong time or learn about required permits after your design is complete. It makes more sense to make all decisions regarding the least flexible factors first – the site design, locations of supports, drainage, structural requirements, approvals, and access, for example.
Measuring Only the Open Floor Area
Width and depth are essential, but they do not suffice. The dimensions of a rectangular patio may include areas that reduce the pergola’s usable space or even affect its structural support.
Some overlooked elements are:
- eaves and soffits;
- swinging doors and sliding door openings;
- low windows;
- stairs and landings;
- deck railing;
- overhangs of the outdoor kitchen counter;
- pool coping; and,
- grade changes,
- height available;
- existing columns; and,
- limitations due to subsurface foundations.
A design may be feasible on paper and be ineffective in reality. Measure a used area, not an empty area: place objects and circulation before choosing the roof area.
Choosing Size Before Checking Posts and Drainage
Another common error is choosing the “perfect” rectangle and then fitting the support structure into it. This approach turns around the planning process.
Placement of posts must take into consideration the following factors:
- proper foundations or structural support;
- door and walkway locations;
- furniture placement;
- side screen openings if needed;
- water flow and discharge;
- structural arrangement of the roof.
Drainage also requires careful consideration. Closed louvers should direct water into the pergola’s drainage system; therefore, you should know the drainage route from the roof before completing site preparation.
Check that you have planned your structure in such a way as to know exactly where it can be supported and where water can be discharged from the roof system.
Treating Accessories as Last-Minute Add-Ons
What seems to be merely an accessory option on a product page may have actual physical repercussions on the project.
These last-minute additions will impact:
- opening dimensions on the side;
- surface for mounting;
- paths for wires;
- locations of controls;
- available space;
- location of the heater;
- plans for enclosing;
- and electrical capabilities and alerts.
While you don’t necessarily have to buy every accessory right away, it makes sense to discuss any potential last-minute additions before finalizing the structure. Make sure that your eventual screen or heater will fit the configuration chosen.
Ordering Before Site Requirements Are Verified
Custom products are manufactured for a specific project; therefore, you must sort out permit and location issues early. Check for the following before placing an order:
- Whether or not a building permit is needed;
- Applicable setbacks/zoning issues;
- Approval of a condominium, strata, or homeowners’ association where applicable;
- Foundation/slab requirements;
- Whether the current deck is strong enough for the loads;
- Underground utilities before any excavations;
- Electrical considerations/notifications;
- Engineering/stamped drawings for the project.
According to LOUSOL, permit issues do not qualify for cancellation beyond the return period. Custom or made-to-order products are treated differently in terms of cancellation and returns compared to stock products.
Expert Tips: How LOUSOL Plans a Custom Pergola
Quick Answer: A good custom pergola design should be developed through the following process, which starts from the rigid requirements and ends up with the flexible ones: purpose of construction, geometrical features of the site, footprint size, post location, span, roof configuration, environmental load, drainage, accessories, electrical needs, site preparation, and finally color combinations. This will ensure that preferences do not influence the design of rigid elements of the construction.
Since LOUSOL’s known custom projects use combinations of various footprints, roof control options, lighting systems, ZIP screens, and support systems, a good planning approach should consider more than the aesthetics of the design. The hierarchy presented below takes into account the parameters shown through LOUSOL’s custom product information, custom project examples, installation tips, accessories, and client terms. This hierarchy begins with the factors which cannot be changed and ends with the ones which can. This order helps distinguish structure-related requirements from site-related ones, as well as preferences such as color or control type. It also creates a clear transition from measurement to drawing, site preparation, the electrical plan, and the quotation, without suggesting an internal company procedure as an engineering process.
How LOUSOL Evaluates a Custom Pergola Project
Designing a custom pergola is simpler when key decisions are made in the correct order:
- Purpose of the structure. Determine whether the pergola will provide cover for dining, lounge, kitchen, swimming pool, hot tub, or a combination of areas.
- Review the existing site. Look at the presence of walls, doors, windows, elevation differences, obstacles, and other restrictions.
- Coverage area to be considered. Think about the actual area that needs coverage.
- Support configuration. Weigh the advantages of attached or free-standing construction and consider proper post positioning.
- Determine the size and height. Stay within the framework of the particular pergola system and project’s structural requirements.
- Roof design. Define the louver direction and whether you need a single roof area or multiple areas.
- Check the local wind and snow requirements.
- Consider accessories upfront. ZIP screens, privacy walls, lighting, heating systems, and controls might have an impact on the overall design.
- Review site preparation. Consider foundations, anchors, utilities, electrical installations, permits, and approvals.
- Finalize the drawings and quotation. Ensure that the agreed dimensions and specifications are clear before manufacture.
Such an approach minimizes the last-minute design adjustments.
Prioritize Hard Constraints Before Aesthetic Choices
Divide project decisions into two categories.
Hard decisions are hard to alter except by redrawing:
- footprint;
- structure loads;
- post or wall attachment points;
- foundation and anchoring situations;
- height;
- door, window, stairway, and equipment clearances;
- permits and setbacks;
- drainage.
Easier decisions are normally made once the geometry is established:
- frame color;
- louver color;
- compatible aesthetic selections;
- preferred controls;
- finishes.
LOUSOL presently offers three color options for the frame and louver: Jet Black, Umbra Grey, and Pure White. These are available on the custom size web page, and frame and roof colors may be combined. These decisions impact aesthetics, but not the structure. First establish the hard decisions, and use color and finishes to fine-tune your design.
Design for Future Use, Not Only Day-One Needs
Outdoor rooms evolve. The dining room that you build today will likely have a screen, heater, new BBQ island, and new furniture arrangement added tomorrow. Planning ahead for additions can help you avoid the difficulty of making adjustments due to constraints imposed by the original structure.
Look ahead to what you’re likely to add, such as ZIP screens, a larger BBQ or outdoor kitchen, lighting, electric heating, privacy screening, larger dining furniture, or rethinking circulation. Consider how any of these additions could affect door locations, clearances, mount points, and wiring. Not all accessories are adaptable to all structures. The right question to ask might be: “What am I likely to add and adapt to in the future?”
Confirm the Final Quote Package Before Production
Review the quotation and the drawings in light of the decisions reached during the planning phase. Verify the:
- total size;
- location of the posts and attachments;
- completed height;
- colors of frame and louvers;
- choice between manual, motorized, or app-based controls;
- accessories required and their number;
- locations of screens and screen operation, where required;
- scope of lighting and heating;
- responsibilities for site preparation;
- responsibilities for electrical work;
- responsibilities for installation;
- drawings and specifications for the project.
A custom pergola should never proceed to production until a major assumption about the site is resolved. Some minor aesthetic decisions can wait; others can’t.
Key Custom Pergola Planning Numbers and Statistics
Quick Answer: The most practical values to plan on are the specific values of each individual structure: dimensions, spans, height, wind and snow load considerations, foundations, and electrical considerations. LOUSOL offers size and loading ranges for its free-standing, custom-designed product line; however, you must consider these alongside the design criteria.
Numbers only have meaning if their range is defined. The manufacturer span range refers to the product limit itself, the climatic design value pertains to a particular location and code requirement, and the utility lead time has bearing on the schedule of work and not on structural load. Combining these different ranges would give a misleading impression of accuracy, though it does the opposite. For a custom louvered pergola, the most sensible numbers come from the product specifications, the final project plans, or the regulating authority at the construction site. This section below delineates the LOUSOL system ranges from the Canadian ranges.
LOUSOL Size and Load Ranges to Verify
The LOUSOL custom size system is provided with the following planning data by the company:
- Louver/ main beam span: 5-15 ft
- Beam span: 8 – 23 ft
- Post Height: 8 – 14 ft
The company also provides the allowable wind/snow combinations for a freestanding BOLD residential/commercial system as 130-175 mph wind with 20–55 PSF snow and a maximum allowable load combination of 25–60 PSF.
This data has to be kept in context as well. It does not necessarily imply that the project will be able to combine a 15 ft louver span, 23 ft beam span, 14 ft post height, 175 mph wind, and 55 PSF snow conditions altogether.
Why Canadian Climate Data Changes by Location
The climatic variations experienced across Canada include different levels of wind, snow, temperature, and exposures; therefore, “Built for Canada” does not mean “location-specific design information”. Historical climate and Climate Normals data are available from Environment and Climate Change Canada, but climatic data and building code criteria used in structural design are those that apply to the specific building code and adopted locally.
National codes do not become enforceable until adopted by the authority having jurisdiction, and code editions and local amendments vary across Canada; use the location of the project to determine the applicable design environment and not some general national average or from someone else’s homeowner’s project.
Which Numbers Belong in Your Final Project File
Keep all pergola measurements and other relevant project figures together, since your quote, drawings, site preparations, and installation will be based on the same data.
The project files in which you compile the overall square footage, post placements and spacing, overall height, dimensions of the roof sections, wind/snow load specifications for the specific project, foundation or anchoring specifications, electrical and control specifications, and finally the drawings or specifications of your project minimize the possibility that quote, site preparations, and installation will be based on different information.
In Ontario, there is another figure that can help plan your project. Ontario One Call tells homeowners to submit a locate request five business days before any excavation. This figure belongs in the project schedule, not the pergola specification.
| Planning Number | Primary Source | Why It Matters | Type | Who Confirms It |
|---|---|---|---|---|
| Overall footprint | Project drawings/site measurements | Defines covered area | Project-specific | Customer + project team |
| Post locations | Final design/drawings | Controls support and circulation | Project-specific | Project team |
| Span and height limits | LOUSOL custom product data | Defines planning boundaries | Product-level | Manufacturer/project team |
| Wind/snow criteria | Applicable code/design documents | Affects structural configuration | Location/project-specific | Qualified project professional as required |
| Foundation/anchoring | Project/installation documentation | Supports structural loads | Project-specific | Installer/engineer/contractor as applicable |
| Electrical requirements | Equipment + local electrical rules | Coordinates powered features | Project-specific | Licensed electrical professional as required |
| Utility-locate timing | Local one-call authority | Protects excavation schedule and safety | Jurisdiction-specific | Excavator/contractor |
Case Study: 9×15 Two-Post Pergola in Ontario
Quick Answer: LOUSOL’s published 9×15 ft project in Tiny, Ontario shows how a cantilevered two-post configuration can keep the front edge of a pergola open at a waterfront outdoor kitchen. The documented configuration includes a Pure White frame and louvers, motorized louvers, and multicolored LED lighting.
The benefit of this project is the clear presentation of its configuration, which shows the planning dilemma at a glance. This property combines a lakeside location, an outdoor kitchen, and the need to keep the front side of the cover structure open. According to the LOUSOL website project page, the features include the 9 × 15 feet size of the construction, two-post cantilevered construction, Pure White frame and louvers, the motorized roof, and the multicolored LED lighting. This allows the project to demonstrate the effect of positioning the support system in accordance with the circulation and views without inventing any budget, installation period, calculations, or performance figures.
Site Constraint: Keep the Waterfront Side Open
The pergola is mounted at a lakeside house at Georgian Bay, above an outdoor kitchen fully equipped. In this case, adding a front support post would have altered the open connection between the roofed area, the path, and the lake view.
According to LOUSOL, the cantilevered system removes the need for a front support post, thereby providing an open system, as well as lake views. LOUSOL also indicates that the design will aid in keeping the path open and the lake view unobstructed. This is information provided by the completion of the project and not just the photos.
Chosen Configuration: 9×15 ft Two-Post Cantilevered Pergola
Specifications of the completed Tiny project from LOUSOL are as follows:
- Size: 9×15 ft
- Supporting structure: two-post cantilever system
- Frame: Pure White
- Louvers: Pure White
- Roof Louver: Motorized
- LED lighting: Multicolored
- ZIP screen: No
The motorized roof louvers allow the roof above the outdoor kitchen area to shift from sun to filtered light to shade. The cantilevered system prevents adding more posts at the front end of the pergola.
The 9×15 ft size and two-post system are specific to this project only and cannot be taken as a general rule for all projects. The span, loads, anchoring points, and site conditions must be checked in any case.
Confirmed Result: Open Views, Clear Walkway, and Adjustable Shade
LOUSOL met three goals for their project: the front support post was removed, the walkway remained uncovered, and the view to Georgian Bay was preserved. An automated louver roof provides the ability to control overhead shading on top of the outdoor kitchen, while LED lighting enables evening use of the covered area.
The take-home message is not that a two-post pergola is necessarily preferable to a four-post pergola. Rather, it is that the location of posts must reflect the functional limitations of the site. If a support post will obstruct a view, walkway, outdoor kitchen, pool entrance, or other critical element of the space, consider a different structure before designing the pergola.
Conclusion: Finalize Your Custom Pergola Plan
Making a custom pergola design that gets approved becomes significantly easier when each and every decision is made in the following order: purpose, measurements, footprint, posts, roof, accessories, loads and foundations, approvals, and final specification.
It is better to begin not with the size of your patio but with the usable space. Make sure doors, pathways, equipment, visibility, and activity zones are protected before deciding on the size of your roof. Verify the placement of supports and drainage, and start thinking about louvers, screens, walls, lighting, heating, and automation.
Building codes, climate design parameters, permitting procedures, excavation requirements, and electricity connection processes vary by area. Find out about these factors before placing an order for a custom pergola.
A custom pergola is ready to order only when the following aspects are verified: dimensions, support locations, roof type, accessories, site requirements, and project obligations.
When preparing a custom pergola project, collect the necessary data such as site measurements, photos, purpose, desired elements, and property limitations. Then look through the options for LOUSOL’s Custom Size Pergolas and get project-specific help and pricing based on your actual space.
Frequently Asked Questions About Custom Pergola Planning
How do I know what size pergola is right for my space?
Use the pergola size guide as a first step, but also consider the dimensions of the usable space, doors, passageways, furniture, equipment, post placement, clearance, and other site elements. Make sure the footprint is appropriate for the use of the site.
Should a custom pergola cover the entire patio or deck?
No. Custom-sized pergolas should only cover those areas of the patio that require shading, shelter, or outdoor living use. Open areas of the patio can serve their purpose without having the pergola installed over them.
What measurements are needed before ordering a custom pergola?
Essential pergola measurements include the total width and depth of the pergola, available height, wall and soffit height, distance from doors and windows, any grade changes, obstacles, and the potential positions of posts. LOUSOL advises you to provide pictures of the site from various angles while planning.
Is an attached or freestanding pergola better for a custom project?
Both options have their merits and depend on the situation. Custom louvered pergolas may be attached when the building allows for it, or detached when there is more freedom of positioning. What matters is the place, supports, and desired use.
When should I choose a pergola with multiple roof zones?
Several roof zones may be preferable if the area is too wide, long, or versatile to cover with a single roof zone. For a custom pergola design, several zones can divide cooking, dining, and lounging areas.
Do I need to plan ZIP screens, lighting, or heaters before production?
Yes. These features can affect side-opening sizes, mounting points, wiring, clearances, and control locations. LOUSOL recommends planning ZIP screens, lighting, heaters, privacy walls, and powered controls before production rather than adding them after the layout is finalized.
How important are local wind and snow requirements for pergola design?
They are a key part of the final design because wind and snow requirements vary by location. Generic national assumptions are not enough. Use project-specific criteria to confirm suitable spans, heights, supports, anchoring, and other structural requirements.
Do I need a permit for a custom aluminum pergola in Canada?
It depends on the province, municipality, property type, pergola size, and installation method. Check local building, zoning, setback, condominium, or strata requirements before ordering so approvals can be addressed before the project reaches production.
What should I review before approving the final pergola quote?
Review the final dimensions, post positions, height, roof configuration, colors, controls, accessories, site preparation, electrical scope, installation responsibilities, and project drawings. LOUSOL recommends confirming these details before production begins.
Can I add accessories to a custom pergola later?
Sometimes, but compatibility should not be assumed. Future ZIP screens, privacy walls, lighting, heaters, or controls may depend on opening dimensions, wiring, mounting points, and the original structure. If later additions are likely, discuss them during initial planning.
Checkout more
helpful articles
Manual vs Motorized Pergola ZIP Screens
How manual and motorized pergola ZIP screens compare on controls,...

Pergola Installation vs DIY: Which Saves You Money?
When DIY pergola installation genuinely saves money, when a professional...

Restaurant Patio Covers That Increase Revenue
A practical framework to estimate how much revenue a covered...


Best DIY Aluminum Pergola Kit Features
The features that make a DIY aluminum pergola kit easy...


